

Hair in Claw Clip: Pro Guide to Styling and Care
Delena MarklandI have been styling hair professionally for years, and the claw clip is one of the tools I reach for most. It has gone from a purely utilitarian piece to a genuine fashion statement, and I love that. Whether I am gathering a client's thick, curly hair or working with fine, straight strands, the difference between a style that holds all day and one that slides out by lunch comes down to mechanics and technique. In this guide I am going to walk you through exactly what I do at the chair, from choosing the right clip size to the finishing touches that make a claw clip style look intentional instead of accidental.
Understanding the Mechanics of Securing Hair in a Claw Clip
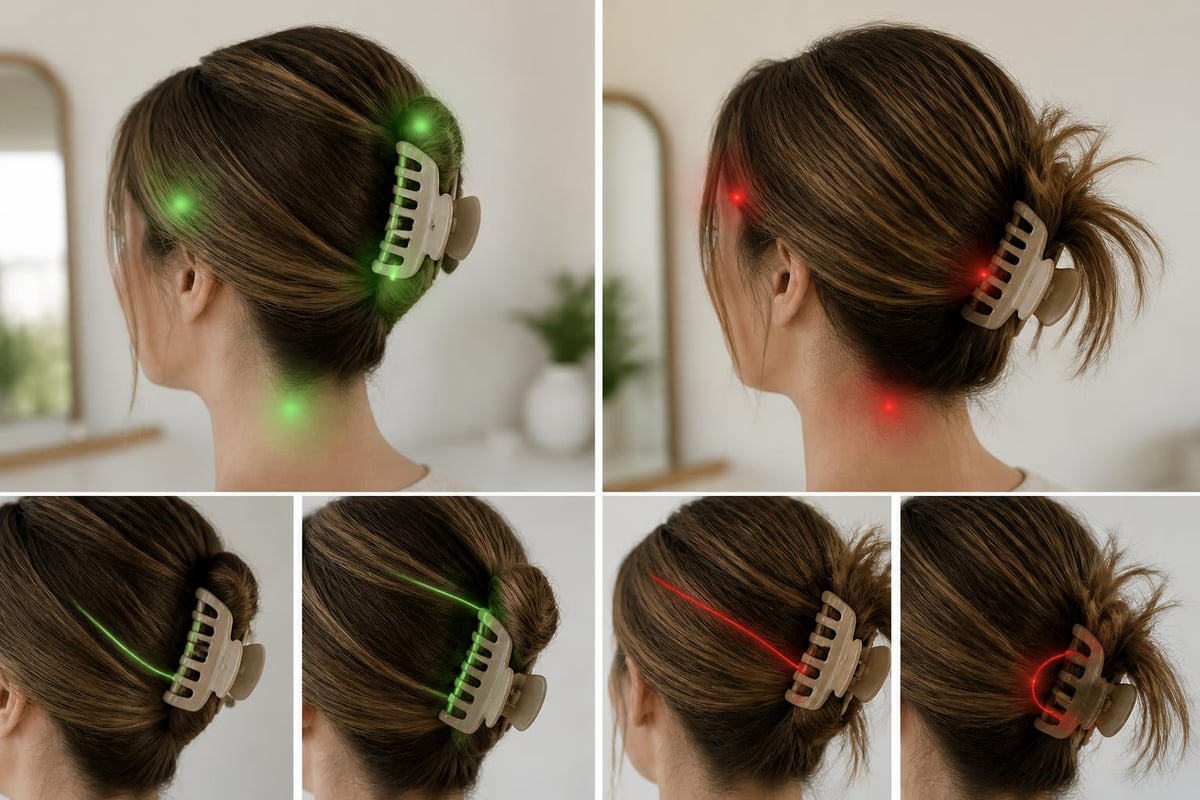
The first thing I teach clients is that a successful claw clip style distributes tension evenly across the gathered hair rather than creating pressure points that stress individual strands. When I set hair in a claw clip, I want the teeth to grasp the whole bundle firmly without pinching or pulling any one section.
The Physics of Proper Clip Placement
The angle at which you insert the clip determines both how long the style lasts and what it does to your hair's health. I almost always insert on a diagonal, with the clip entering at roughly 45 degrees to the scalp. That creates more surface contact and spreads the weight far more effectively than a straight perpendicular approach.
The positioning factors I pay attention to:
- The distance from the scalp to the clip's base point
- The tightness of the initial gather before I secure it
- The number of teeth actually engaged with the hair bundle
- The clip's opening width relative to the hair volume
When I build a claw clip updo, the clip should close comfortably against the gathered hair without me forcing it. If I am fighting to snap a clip shut, I have gathered too much hair for that clip size, and that excess tension is exactly what leads to breakage over time.
Selecting the Right Claw Clip for Your Hair Type
Not all claw clips perform the same across different textures, densities, and lengths. The match between the clip and the hair is what decides whether a style holds securely or falls apart within hours, and it is the mistake I correct most often.
| Hair Type | Recommended Clip Size | Teeth Configuration | Material Preference |
|---|---|---|---|
| Fine, thin hair | Small to medium (2-3 inches) | Closely spaced teeth | Acetate or plastic |
| Medium density | Medium to large (3-4 inches) | Standard spacing | Any quality material |
| Thick, dense hair | Large to jumbo (4-5+ inches) | Wide-set teeth | Reinforced acetate |
| Curly or textured | Large with wide opening | Rounded, smooth teeth | Gentle-grip materials |
The various styles you can create with claw clips depend heavily on choosing clips that match your hair's specific requirements. A clip built for fine hair will never grip thick, textured strands the way you need it to, and an oversized clip on thin hair just adds weight and tension I would rather you avoid.
Material Quality and Hair Health
The material your clip is made of directly affects your hair's condition over time, and this is something I feel strongly about. High-quality acetate clips have smooth, polished teeth that glide through hair without snagging. Cheaper plastic versions often have rough edges or molding seams that catch and tear individual strands. If you wear claw clips regularly, investing in well-made ones genuinely pays off in less breakage and healthier hair.
My Techniques for Professional-Looking Results
Polished styles take more than gathering hair and clamping a clip over it. The results I get at the salon come from preparation, strategic sectioning, and deliberate finishing, and every one of those steps is something you can do at home.
The Foundation Twist Method
This is my go-to for medium to thick hair because it creates a secure base that holds for hours:
- Brush hair thoroughly to remove tangles and create smooth texture
- Gather hair at your desired height (low, mid, or high placement)
- Twist the gathered hair 1-2 full rotations while keeping tension
- Fold the twisted section up or over into the shape you want
- Insert the claw clip diagonally through the folded section
- Make sure the teeth penetrate both the twisted base and the folded portion
The twist adds structural integrity that keeps the style from sliding or loosening as the day goes on. This step-by-step approach to claw clip styling shows how small technical adjustments create dramatically better hold and appearance.
Managing Flyaways and Finishing Details
Even a perfectly executed claw clip style benefits from thoughtful finishing, and this is where I see most people stop too soon. I smooth a product over the hair's surface before securing the clip to control frizz and create that polished, intentional look. That finishing step is the difference between an amateur attempt and a professionally styled result.
After I secure the clip, I assess the overall shape and make micro-adjustments. I gently pull small sections near the face to create soft framing pieces, then check the back to make sure the distribution is smooth and even with no bumps or gaps. These refinements take seconds and they change everything about the final look.
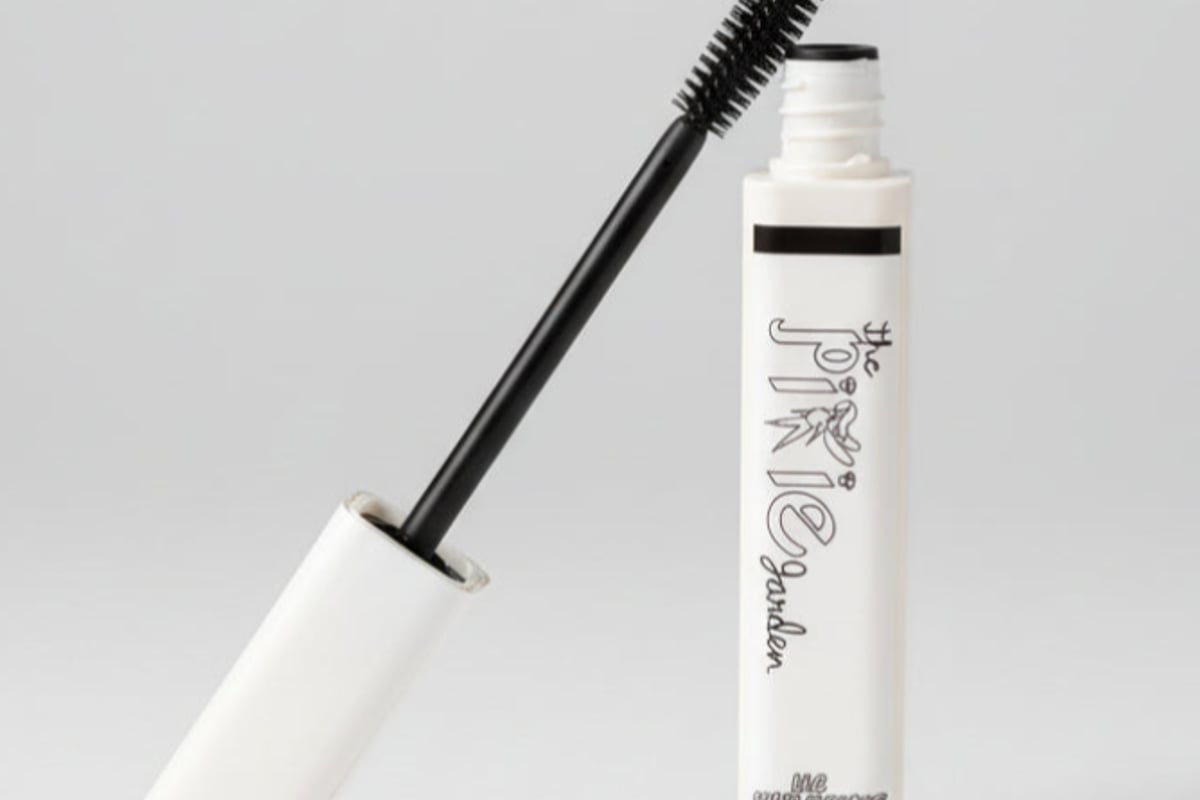
For the stubborn flyaways that show up after styling, a targeted finishing product makes all the difference, and this is the one I formulated for exactly this. The Hair Finishing Stick gives you precise control over stray hairs without the stiffness or buildup that traditional products leave behind, so you keep that fresh-styled finish all day.
Versatile Styles for Different Occasions
One reason I love claw clips is how easily they move across casual, professional, and formal settings. Once you understand which variations suit which context, you get a lot of mileage out of a single accessory.
Casual Day Styles
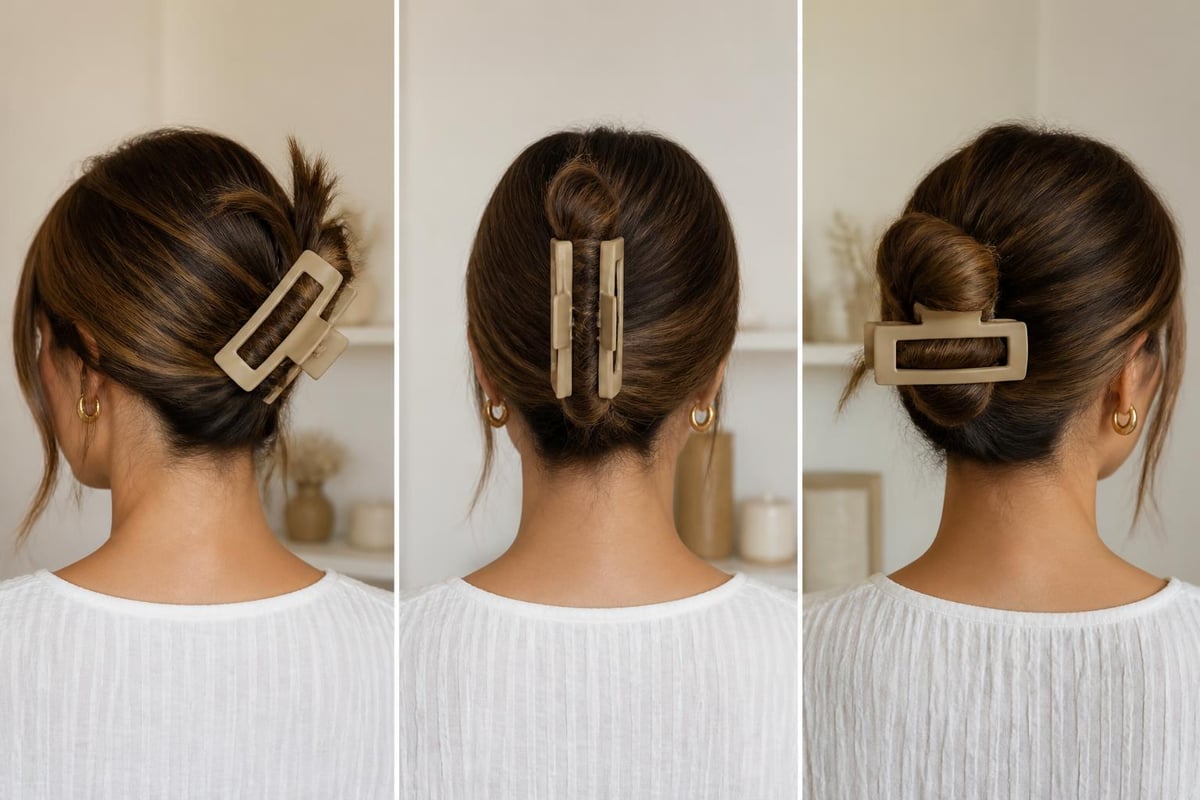
For everyday wear, I keep things relaxed and prioritize comfort and an effortless look. The messy bun secured with a claw clip embraces texture and volume and takes almost no prep for maximum impact. I gather the hair loosely at the crown, twist once without pulling it tight, and secure with a medium to large clip positioned horizontally.
The half-up, half-down configuration is another favorite of mine that works across lengths and textures. I section the top portion from temple to temple, gather at the crown, and secure with a clip that complements the outfit. It keeps hair off the face while showing off length and movement underneath. You can learn more about perfecting this half-up half-down claw clip technique for different occasions.
Professional Workplace Looks
For corporate settings I go more refined, with styles that project competence and polish. The low twisted chignon is elegant and simple: gather hair at the nape, twist until it naturally coils on itself, fold the coil up against the scalp, and secure with a clip positioned vertically. It keeps hair completely controlled while staying professional.
Why I recommend this for work:
- Keeps hair off the collar and shoulders during meetings
- Projects an organized, detail-oriented image
- Holds through long workdays without touch-ups
- Transitions easily from the office to evening events
Addressing Hair Health Concerns
Claw clips are gentler than elastic bands, but improper use can still cause damage, and I want you to know how to avoid it. Understanding the science behind whether claw clips damage hair helps you build protective habits that preserve your hair's integrity.
Preventing Tension Damage
The thing I watch for most is tension-related stress on the follicles and shafts. When clips secure hair too tightly or sit in the exact same position every single day, they create consistent stress points that weaken the hair structure over time.
| Risk Factor | Prevention Strategy | Expected Outcome |
|---|---|---|
| Same placement daily | Rotate clip position by 1-2 inches | Distributes stress across different areas |
| Overnight wear | Remove clips before sleeping | Eliminates extended tension periods |
| Clips too small | Match size to hair volume | Reduces concentrated pressure |
| Wet hair styling | Allow hair to dry before clipping | Prevents stretching vulnerable strands |
I always stress the importance of proper claw clip usage to minimize these risks, especially for clients with fine or chemically treated hair that tends to be more fragile.
Material Sensitivity Considerations
Some people react to specific plastics or metals used in clip construction. If you notice scalp irritation, redness, or itching right where the clip makes contact, I would switch you to a hypoallergenic material like cellulose acetate or a wood alternative.
Advanced Styling for Special Events
For formal occasions I reach for elevated versions of these styles that bring in a few extra techniques and embellishments.
The Dimensional Updo
This advanced technique creates visual interest through layered sections, and it photographs beautifully:
- Divide hair into three horizontal sections (bottom, middle, top)
- Secure the bottom section first with a clip positioned low at the nape
- Twist the middle section and drape it diagonally across the first clip
- Secure the middle section with a second clip
- Gather the top section, tease slightly for volume, then secure over the previous layers
- Adjust and refine the overall shape, pulling small sections to create dimension
The layered approach builds depth and complexity while staying secure through a long event. It is a technique I especially recommend to clients exploring claw clip hairstyles for thick hair, because the sectioning makes a lot of volume far easier to manage.
Embellished and Decorative Options
Special occasions are my excuse to bring out statement clips that work as both styling tools and jewelry. Handcrafted clips with intricate detail add personality and artistry to a formal style. The Handmade Collection shows how clips made through crochet and embroidery create dimensional texture and a character that factory-produced accessories simply cannot replicate.
Troubleshooting Common Challenges
Even after years at the chair, certain hair characteristics and clip configurations throw me a curveball. Here is how I solve the problems I run into most.
Clips That Will Not Stay Secure
When a claw clip style keeps slipping or loosening within hours, a few things are usually behind it. Silky, freshly washed hair often lacks the texture it needs to grip. I add dry shampoo or a texturizing spray before styling to create the friction that helps the clip hold its position.
My additional security measures:
- Cross two smaller clips instead of using one large clip
- Run bobby pins through the clip's center to anchor it to the underlying hair
- Slightly dampen hair before styling to increase moldability
- Choose clips with rubberized or textured teeth for extra grip
Creating Volume in Fine Hair
Clients with fine or thin hair often struggle to get the fullness that makes a claw clip style look intentional rather than sparse. Strategic teasing at the crown before gathering creates the illusion of density. I also like to bring in volumizing products or techniques like volumizing roller clips before final styling to build foundation body.
Adapting Techniques Across Hair Lengths
The mechanics of a claw clip style shift a lot with length, so I modify my approach for short, medium, and long hair.
Short Hair Adaptations
Hair that barely reaches the shoulders is the trickiest, because there is so little length to twist or fold. For short hair I focus on half-up styles that gather only the top section, or I create small twisted sections at the sides that meet at the back and secure with a single horizontal clip. Here the clip acts more as an accent that controls face-framing pieces than as something containing all the hair.
Medium Length Versatility
Medium-length hair, from the shoulders to mid-back, gives me the most flexibility. There is enough hair to build secure buns and twists while still being manageable enough to style quickly. Most of my professional techniques work best at this length, from a casual messy bun to a structured low chignon.
Long Hair Considerations
Hair past mid-back needs larger clips and usually benefits from braiding or twisting first to manage the length. Rather than trying to gather everything into one clip, I will create a rope braid, then coil and secure it with a jumbo clip. That keeps the weight of long hair from dragging the style loose as the day goes on.
Seasonal Styling Considerations
Weather changes how a claw clip style behaves, so I adjust which variations I use through the year.
Summer Heat and Humidity
High temperatures make updos especially appealing because they get hair off the neck and back. Humidity, though, fights clip security by reducing the hair's natural grip. I combat the slipping with anti-humidity products before styling and clips with aggressive tooth patterns that dig deeper into the gathered hair. Many of the refined techniques behind trending fall hairstyles transition beautifully into summer with only minor adjustments.
Winter Dryness Management
Cold weather brings static and dryness that make hair resist gathering smoothly. I counter it by keeping moisture levels up with conditioning treatments and smoothing a serum through before I style. Winter is also a great time to show off decorative clips against solid-colored coats and scarves.
Working Clips Into Your Hair Care Routine
Beyond styling, claw clips earn their place throughout a full hair care routine, and I use them constantly behind the scenes.
Protective Styling Applications
When I apply a treatment or mask, securing hair in a loose claw clip keeps the product contained while it distributes evenly. The gentle hold stops dripping without the tension that damages wet, vulnerable hair. I also use clips to section hair during color or deep-conditioning, which makes the whole process more efficient and controlled.
Managing Hair During Daily Activities
Active clients always ask me how to secure hair in a claw clip that survives movement without causing headaches. I position the clip slightly lower than usual and make sure it is not pressing into the scalp. For high-impact activity, I double up with a clip and a soft scrunchie for redundant hold that handles vigorous movement.
The same logic applies to everyday tasks like applying makeup, where getting hair completely off the face keeps it out of your products and tools. A simple makeup headband paired with a couple of well-placed clips creates ideal conditions for precise application.
Current Trends and Fashion Integration
The resurgence of claw clips reflects a broader move toward accessories that combine real function with aesthetic appeal, and I am all for it. Celebrity moments and social media have lifted the humble claw clip into a must-have that signals both practicality and fashion awareness.
Right now I am seeing oversized statement clips, vintage-inspired tortoiseshell patterns, and minimalist solid colors chosen to coordinate with an outfit. The modern claw clip updo worn by Bella Hadid is a great example of classic technique getting a contemporary update through clip choice and finishing details.
Building a Clip Collection
I tell every client that a versatile clip collection lets you match the accessory to both the outfit and the style you want. A well-rounded set includes:
- One to two small clips (1.5-2.5 inches) for half-up styles or bangs
- Two to three medium clips (3-3.5 inches) for everyday full updos
- One large or jumbo clip (4+ inches) for thick hair or formal styles
- Statement pieces in unique colors, patterns, or embellishments for special occasions
Quality beats quantity every time when you build your collection. Five well-made clips that perform reliably across styles will serve you far better than twenty cheap ones that break, slip, or tear hair. I curate the selection at The Pixie Garden with exactly that in mind, choosing for both performance and hair health.
Once you understand clip selection, placement, and finishing, you can create versatile, professional claw clip looks while protecting your hair's health. Whether you are throwing up a quick casual updo or building an elaborate formal style, those principles stay the same, and they are the same ones I use at the chair every day. At The Pixie Garden I hand-select the accessories and styling products I trust as a licensed cosmetologist, so you can get that polished, effortless finish with professional-quality care in every detail.